How Do I Check Ping Both In Windows 10 & Mac?
pGenerally a ping test measures the internet latency The higher the latency is the slower your connection gets while a lower latency indicates a relatively fast connection The ping is referred to the time that your computer takes to send the data pac
Whether you want to test your computer network or check the internet connection quality, conducting a ping test is certainly necessary. A ping test can indicate whether the problem behind a slow internet is due to your local network issue. Or, your ISP or host network is to blame. However, you should know how to do the test.
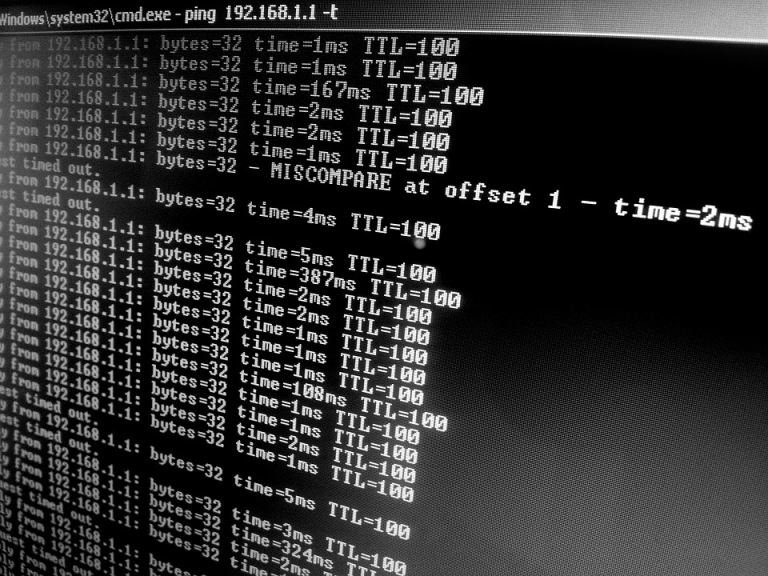
Generally, a ping test measures the internet latency. The higher the latency is, the slower your connection gets while a lower latency indicates a relatively fast connection. The ping is referred to the time that your computer takes to send the data packets to the server and receive it back. When you conduct a ping test, it measures the amount of time taken by your computer and server for sending and receiving data packets. If the amount of time or latency is relatively lower. Then you will enjoy an ultra-smooth experience while gaming, video chatting, loading web pages, and more. However, the steps of conducting speed tests in Windows 10 and Mac are different.
Keep on reading this article to find out how to do a ping test both on Windows 10 and on Mac. The result will show you whether you have a fast internet connection or not. Let's get started,
How Do I Check Ping Both In Windows 10 & Mac?
To check the ping in your system, you must conduct a ping test. Generally, a ping test should be conducted whenever you're facing poor internet speed because this test will provide a lot of information. So, it becomes easier for users to diagnose the underlying causes behind a slow internet speed. When you conduct a ping test, your device will send a small data packet to your host network or another web domain in your network.
Depending on how fast your computer receives the response back from the host network or web domain, the ping rate will be determined. The ping rate is measured in milliseconds. To ensure you have the best connection, it's important to keep your ping low between 10Ms to 60Ms. If it exceeds beyond 100Ms, your connection will gradually start to drop.
How To Check Ping On Windows 10?
The steps to check the ping on both Windows 10 and Mac are slightly different. So, we will discuss the steps for both. Depending upon the type of system you use, follow the steps we've mentioned in this article.
So, the steps to check ping on Windows 10 include:
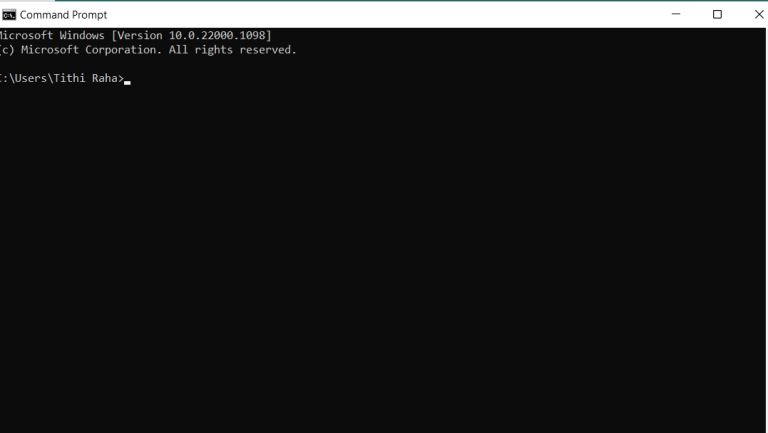
- Click on the “windows” icon on your keyboard, type “CMD” in the search bar, and press “enter”
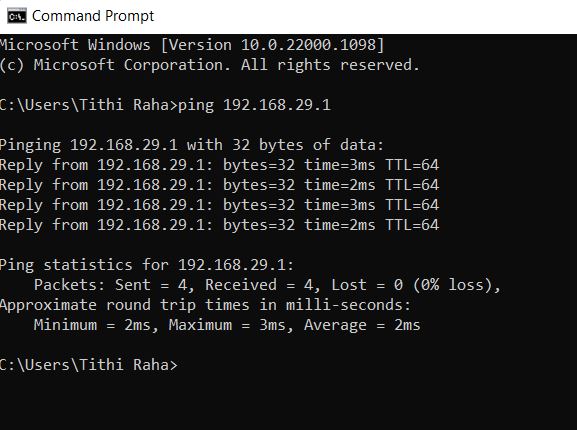
- A command prompt window will be opened with a dark black background and white test. Now, type “ping(space)IP address” or “ping(space)domain name” to know the result. For example, you can type “ping 192.168.29.1”. And hit “enter”.
You can see the average, maximum, and minimum ping rates shown in the result. Since it's below 10Ms, it can be considered a great ping, suitable for online gaming, video conferencing, streaming, or conducting any high-end internet activity.
How To Check Ping On Mac?
If you're doing a ping test on Mac, there are steps you should follow. All these steps are pretty basic and can be followed with ease. So, let's take a look,
- Just like the “windows” button on a Windows computer, click on the “finder window” on your Mac.
- You can also type “command+A” to find the finder window.
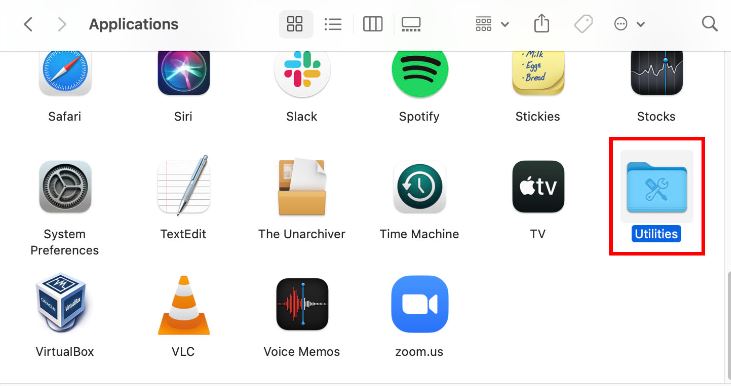
- Now double-click on the “utilities” folder.
- Next, open the “terminal” and type the same command as you typed in Windows. For instance, “ping 192.168.29.1” and then hit “enter”.
- Once the ping test is done, press “control+C” to stop the test.
Like Windows, the ping test result on Mac will also show you everything related to the average ping rate, minimum ping rate, and maximum ping rate as well. Generally, you will see the number of packets lost or received and the total time taken by each of the ping tests. The time should be closer but if they're not then there might be some issues with your network. However, it's not that every time the ping test will go successfully. There are times when you may see common error messages popping up in the ping test.
Some Common Error Messages Occur In Ping Test
In case, your ping test returned with a failed result, there are some common error messages that might pop up. It's important to understand what these messages indicate to resolve the underlying problem in your device or your network. The common error messages in the ping test include:
1. Request Timeout
Generally, the default time taken by a ping test to be conducted is 4,000 milliseconds or you can say 4 seconds. In case, the ping test takes longer than this default time. Then you may see a “request timeout” error message popping up on the screen. There are a lot of reasons why you may see this message. It could be network congestion, a firewall trying to stop the traffic, or defective ports or cables.
2. Unknown Host Or Host Is Down
Sometimes you can see two types of error messages occurring while conducting the ping test. It could show an “unknown host” or “host is down” error message. Typically, this occurs when the requested host is not responding to your system back or your device can't recognize the requested hostname. In this case, try to check whether you've entered the hostname correctly. Or, if your router is properly functioning or not. Sometimes, the issue could be related to your router which requires a reset.
3. General Failure
A general failure during a ping test means that your computer is not having a proper IP or TCP setting. Or, it could be an indication of a problem, related to your local area network or LAN adapter or drivers. During general failure, it would be difficult to check your ping without fixing the issue upfront.
4. Unreachable Destination
These messages mean that the destination is unreachable or there is no destination that you entered. However, if the message indicates “reply from Destination Host Unreachable”, it indicates that the computer is facing a routing problem at a remote router not with the route destination.
5. TTL Expired
The TTL that you notice after the ping time for each individual test refers to the total number of “hops” that your data packet can make. If you notice an error message “TTL expired in transit”, it means that the data packet exceeded the maximum allowable hops while conducting the ping test.
These are the few error messages that you might notice while testing your ping rate. If you don't want to do a ping test manually, you can try utilizing some software available on the internet. This will show you more specific information including ping, latency, and whatnot.
Conclusion
In case, you notice error messages while conducting a ping test. Then it's important to troubleshoot the network issues before retesting. You can try to conduct the ping test in other devices or domains to check whether similar problems exist or not. It will help you diagnose the underlying cause. Fortunately, there's nothing to worry about if your ping rate is higher than usual. Because there are ways to lower your ping effortlessly.


